


The first spread for my picture book idea is complete, and what a journey it was to make! This whole idea began many MANY months ago, when I came up with the idea of making a picture book based on a little girl/ tour guide, showing you around her bug hotel and teaching us about insects along the way. I began working on writing the plot and started sketching some character designs which eventually turned in to a finished character sheet.
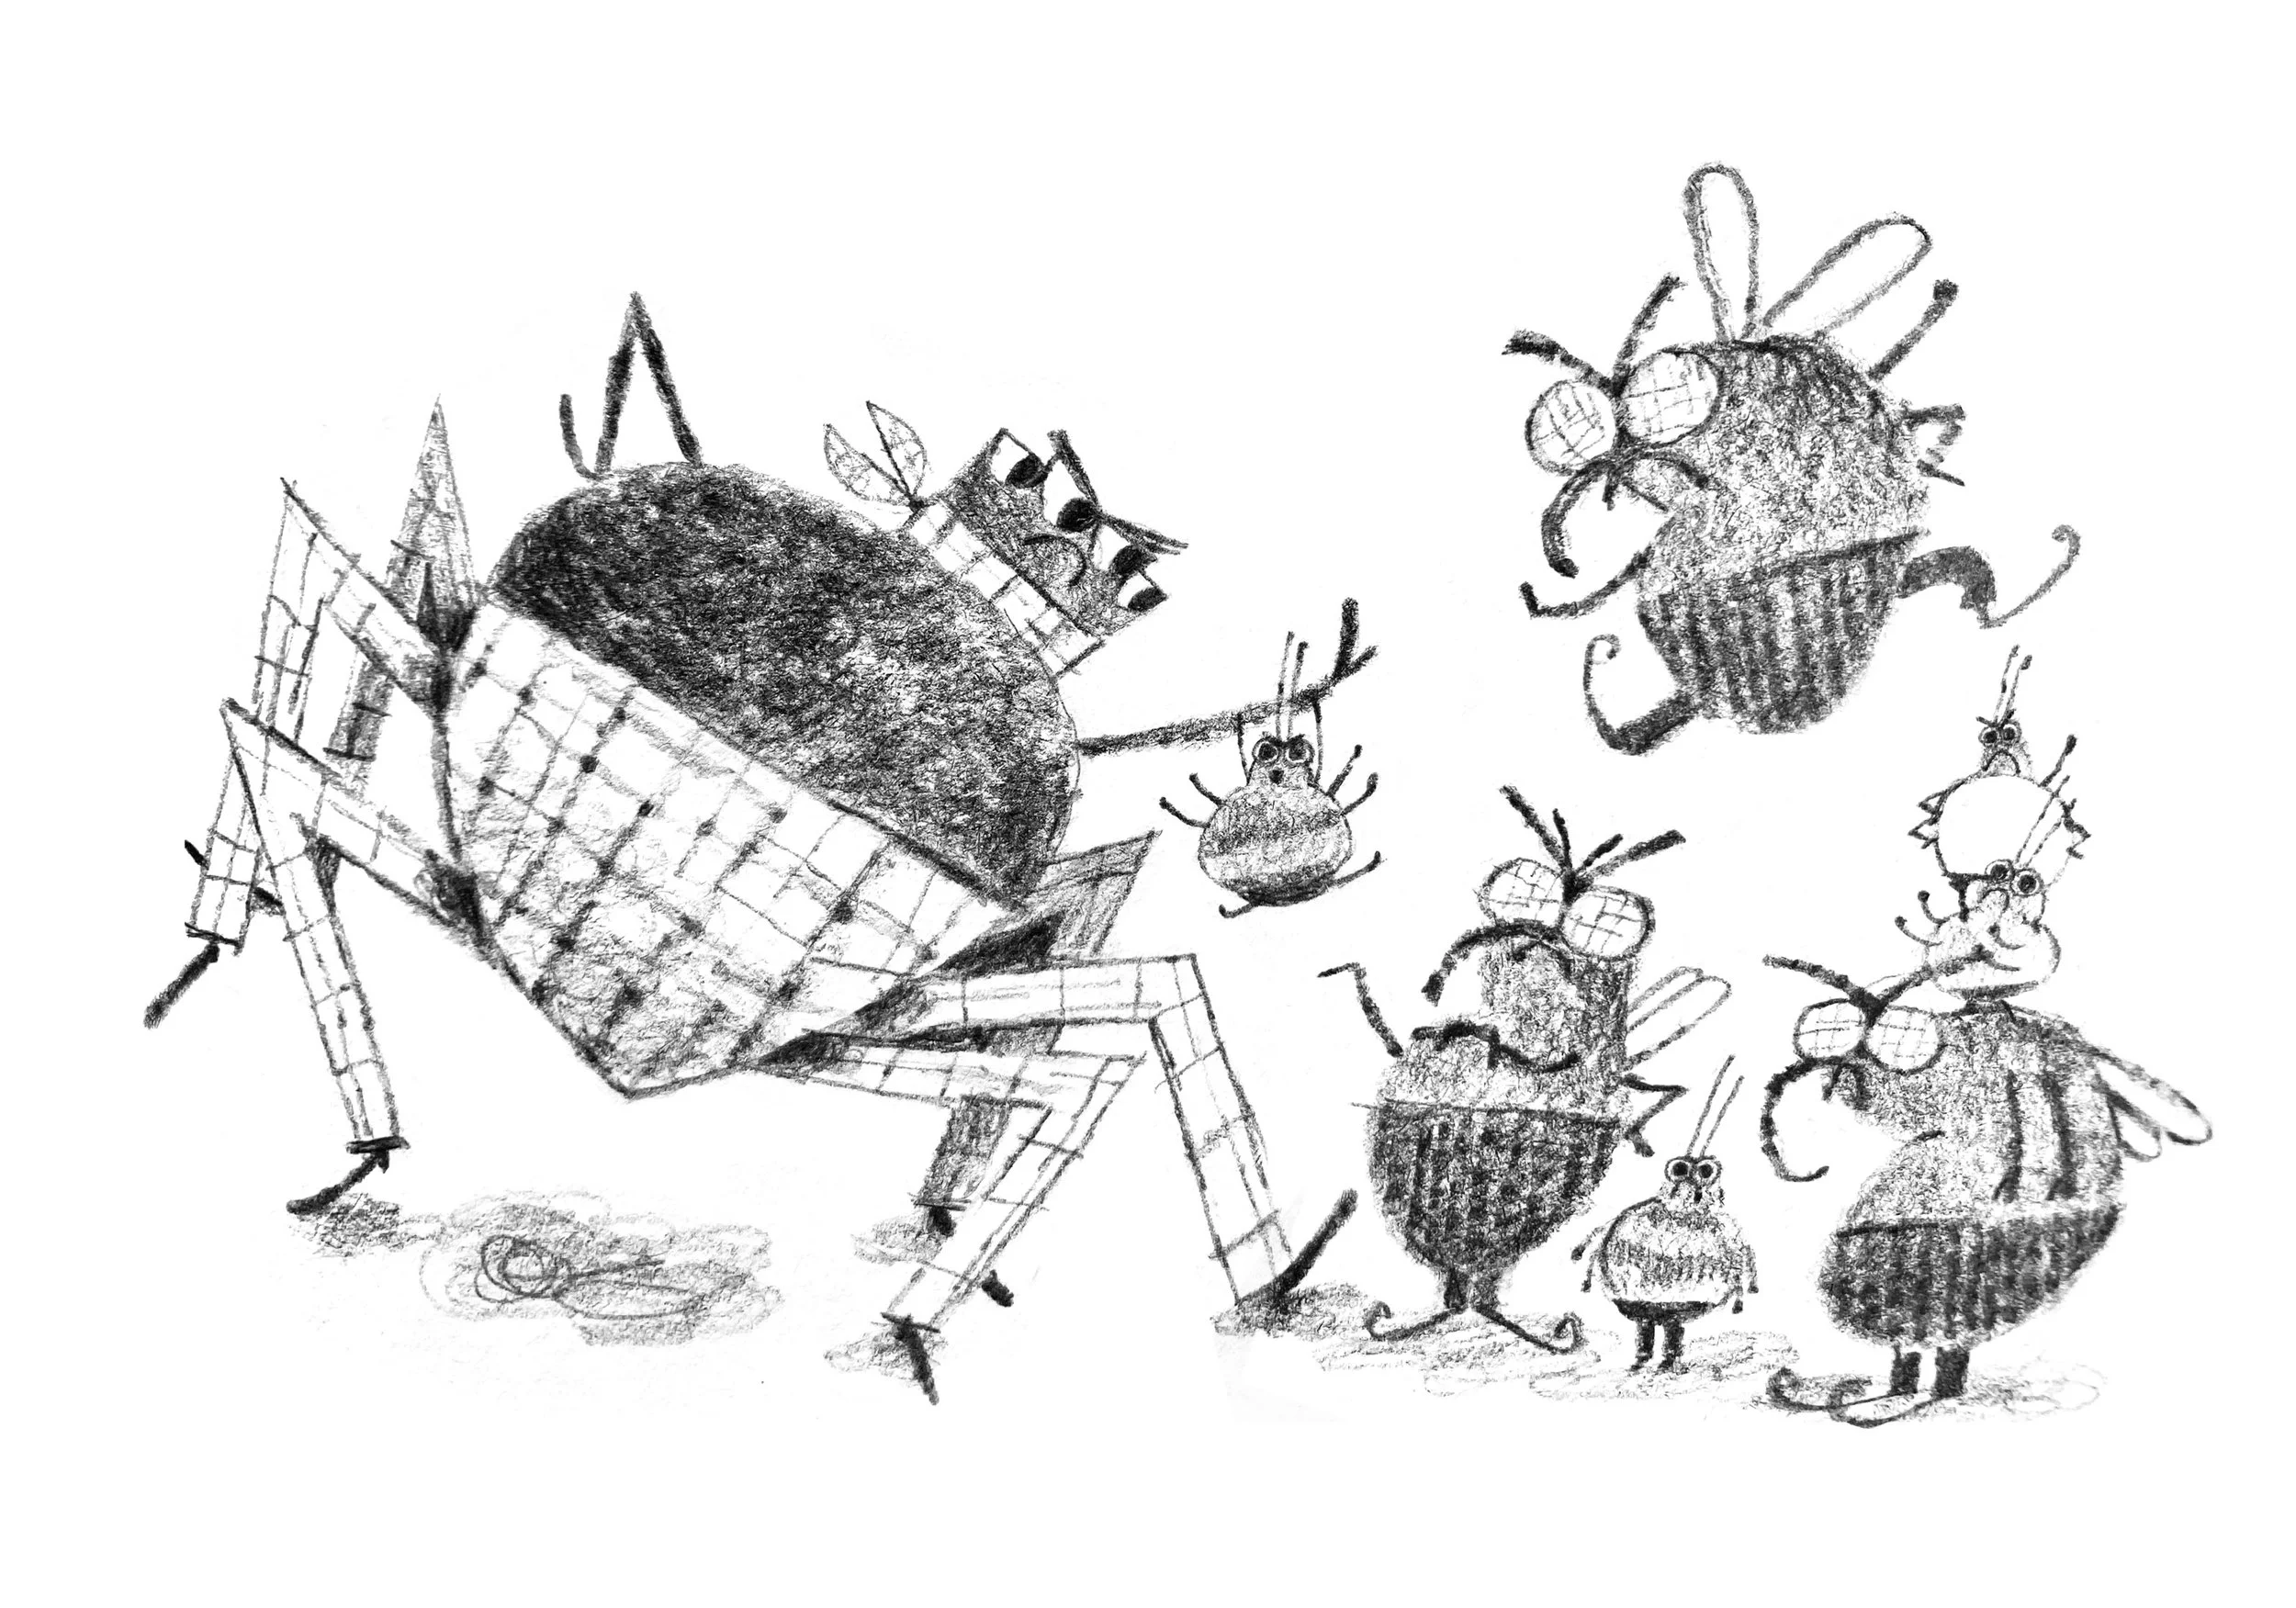

I love how these guys turned out and I would think about the book idea everyday without fail, but working on it kept getting pushed further and further down the to do list. Making this book is currently just a passion project, which I don’t make any money from, making it quite hard to prioritise when there are bills to pay. Why work on the picture book, when I could make a commission instead and get paid for it! I would try to find time for it here and there, but by the time I would get round to it, I would feel very creatively drained from the art I was making for other people. Because of this (and quite a few other reasons) I made the decision to get a part time job as an art teacher. This would mean I could spend less time working on commissions, and make art for my dream of being a children’s book illustrator.
So now I had made the change in my life to prioritise my goal… I actually had to work on it. I was very scared. I had thought about it so much, and could picture what I wanted to make in my head so clearly, what If I couldn’t do it. What if it looks bad - a thought I have almost every time I start a new piece of art. You’d think I’d have gotten over this fear by now!
When I’m feeling over whelmed by making quite an ambitious illustration, I try to split it up in to small achievable tasks. So instead of thinking ‘there’s a really complex illustration I need to make with lots of characters in an environment’, I think ‘all I have to do now is one little thumbnail sketch’. This makes it a lot less daunting and manageable!
Thumbnail Attempt 1

Thumbnail Attempt 2
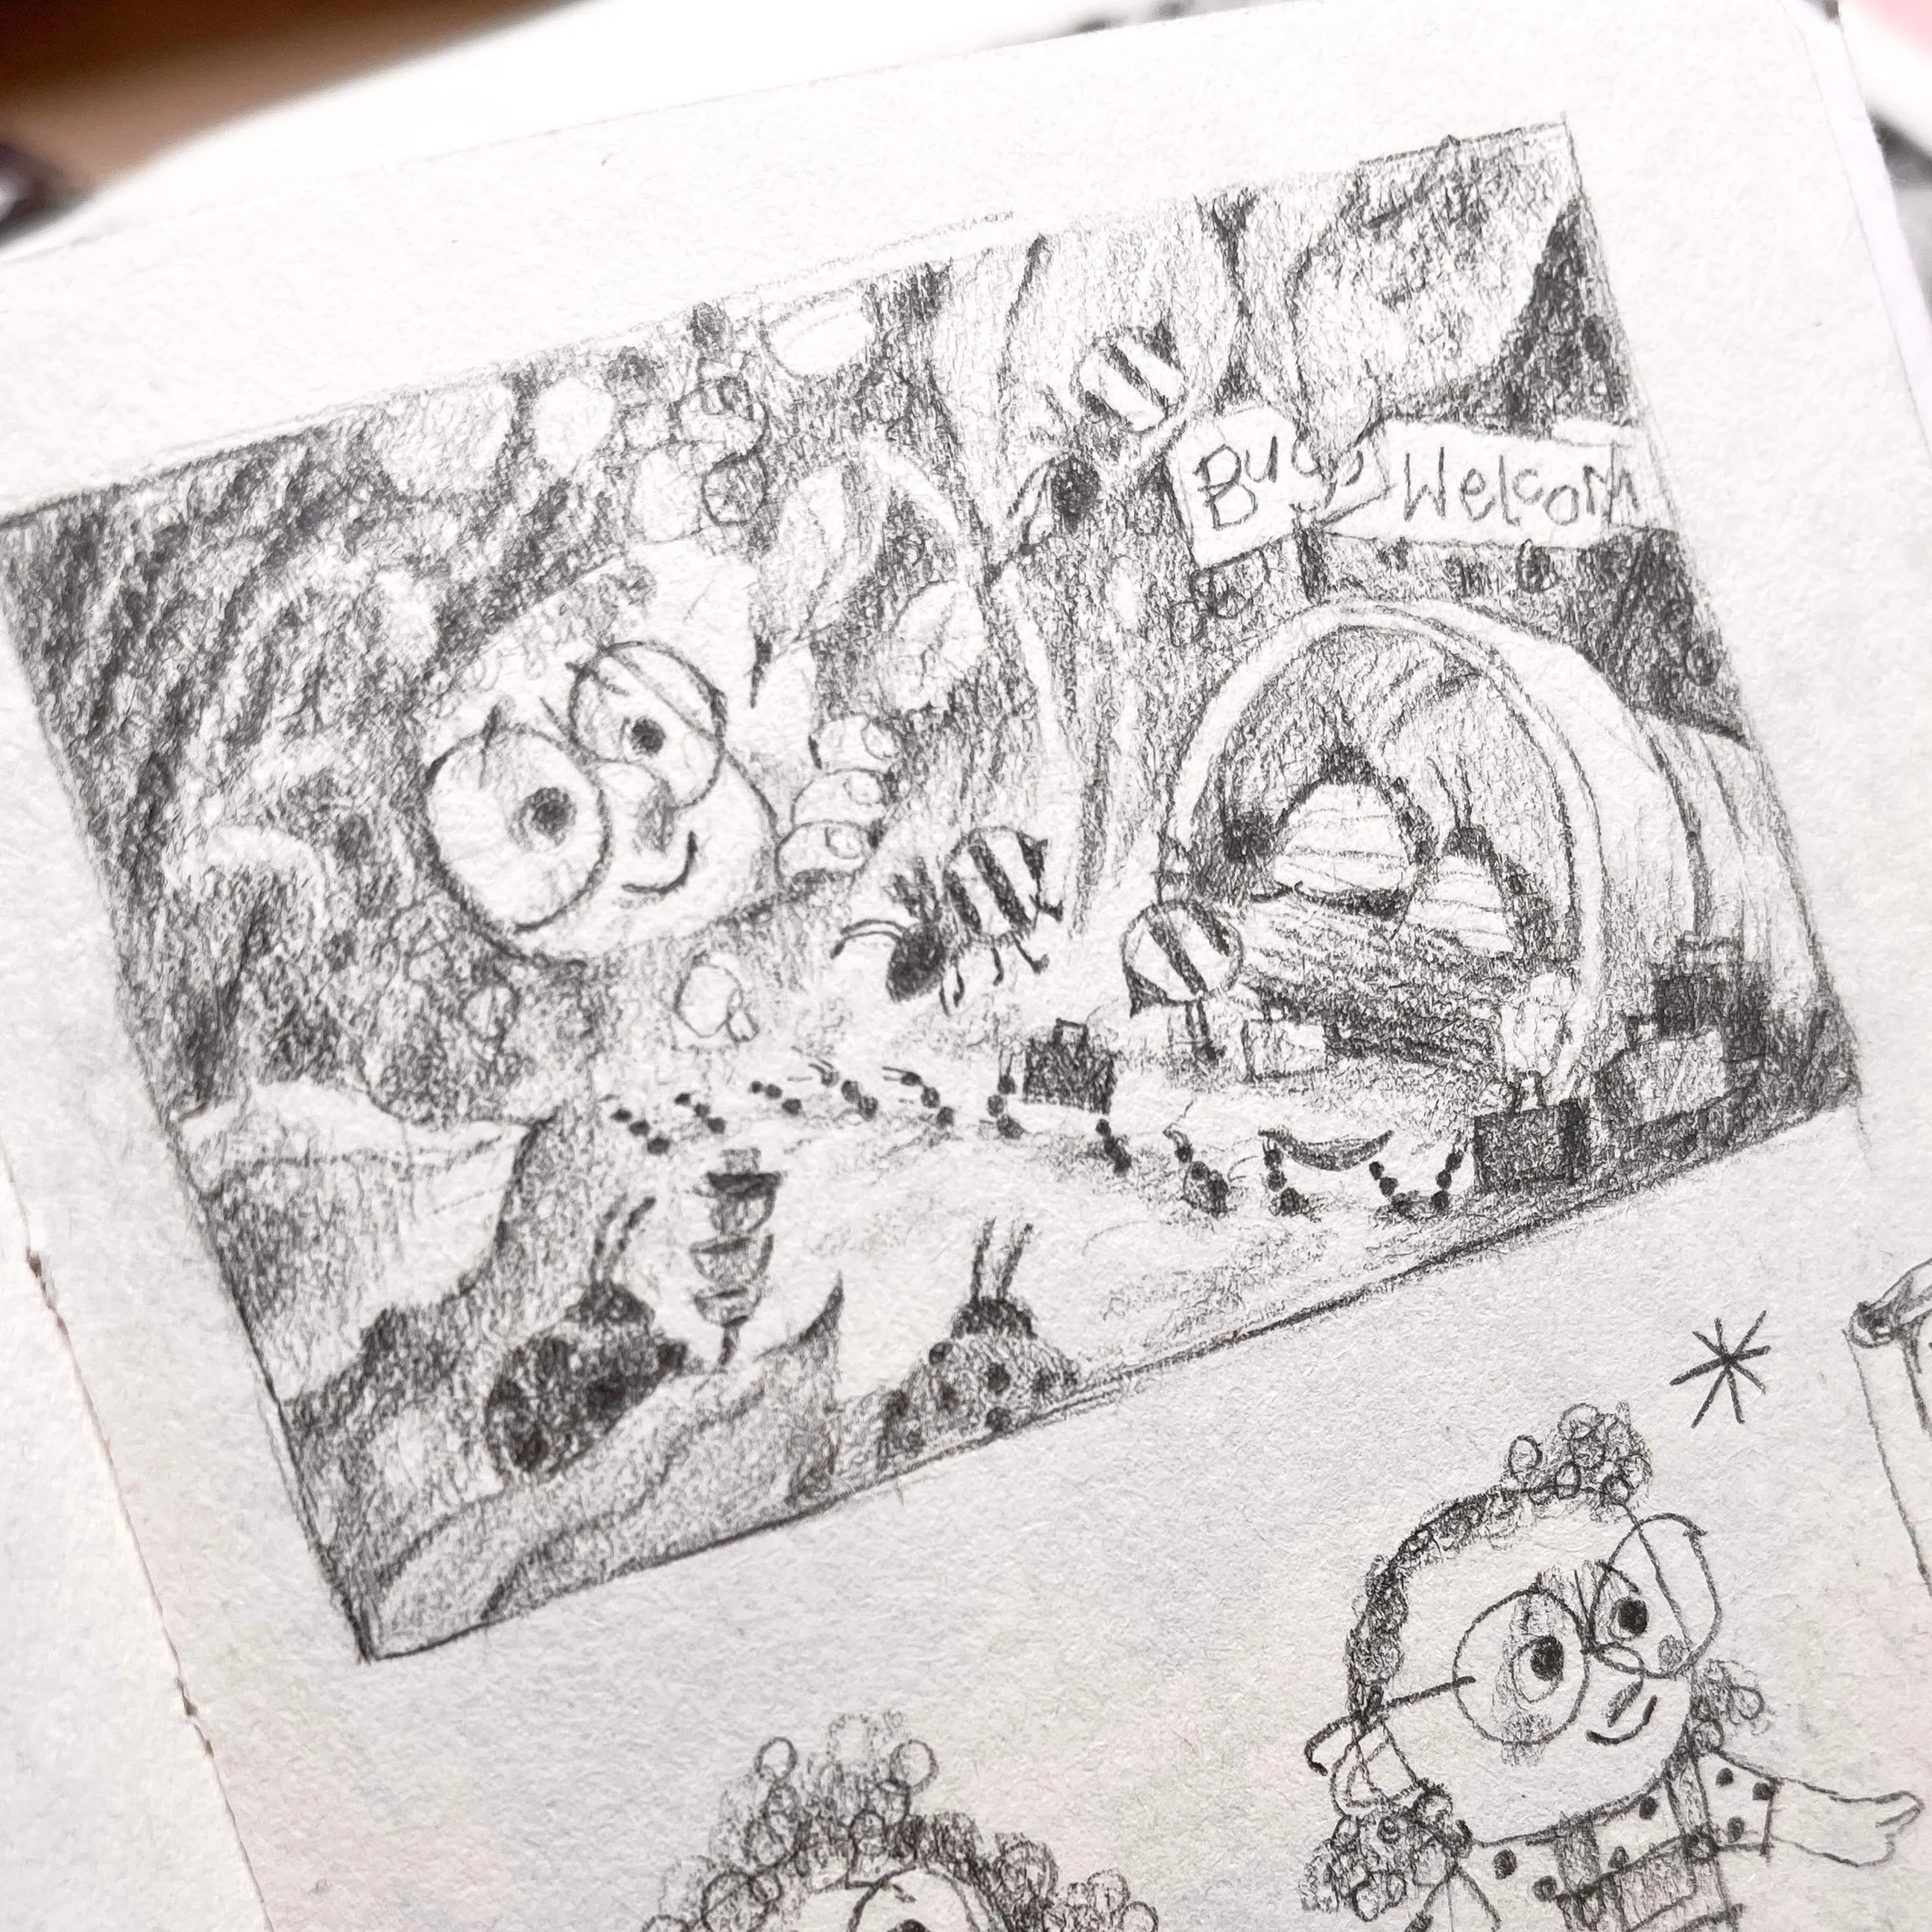
Then I drew a much bigger version to add in more detail and fill the scene more.


Once I had my finished sketch, I moved on to adding colour which was a little tricky. I wanted it to look like a fun, fantasy version of what the inside of a bug hotel would look like, so lots of browns and earthy tones, but still bright, colourful and inviting. For inspiration I was looking at real life bug hotels, which inspired the pattens and textures on the walls.


Colour mock

With all that planning out of the way, I began work on the final piece. In the weeks leading up to this, I had been playing around a lot with pan pastels. I love the way they look and thought there soft blended look would pair nicely with the more harsh edges of collage. For the background I used pastels layered with coloured pencil and Neo colours, and tried to keep it very loose and soft to make sure it wouldn’t clash with all the characters in the scene.


For everything else in the scene. I used collage and scanned in and pieced everything together on Photoshop. This gave me the best of both worlds - the lovely, loose look of traditional art, with the control of being able to tweak colour and placement digitally.


Suitcase pile


Plant pot reception

Log desk


Piecing it all together digitally

I want the bug hotel to look like it was made by a little girl (who will be our tour guide through out the story) so It’s important for me to include little nods to her through out it’s design. I thought a little ‘Bugs Welcome’ sign written by her would be a very cute addition to the entry way!


Speaking of the little girl (I have yet to decide her name) here she is peaking in to the hotel! I painted her using acrylic paint and had to tweak her colours slightly when it came to editing her into the scene. I just upped the warmth and lowered the contrast to help her blend in a little better.


Adding in all the insects


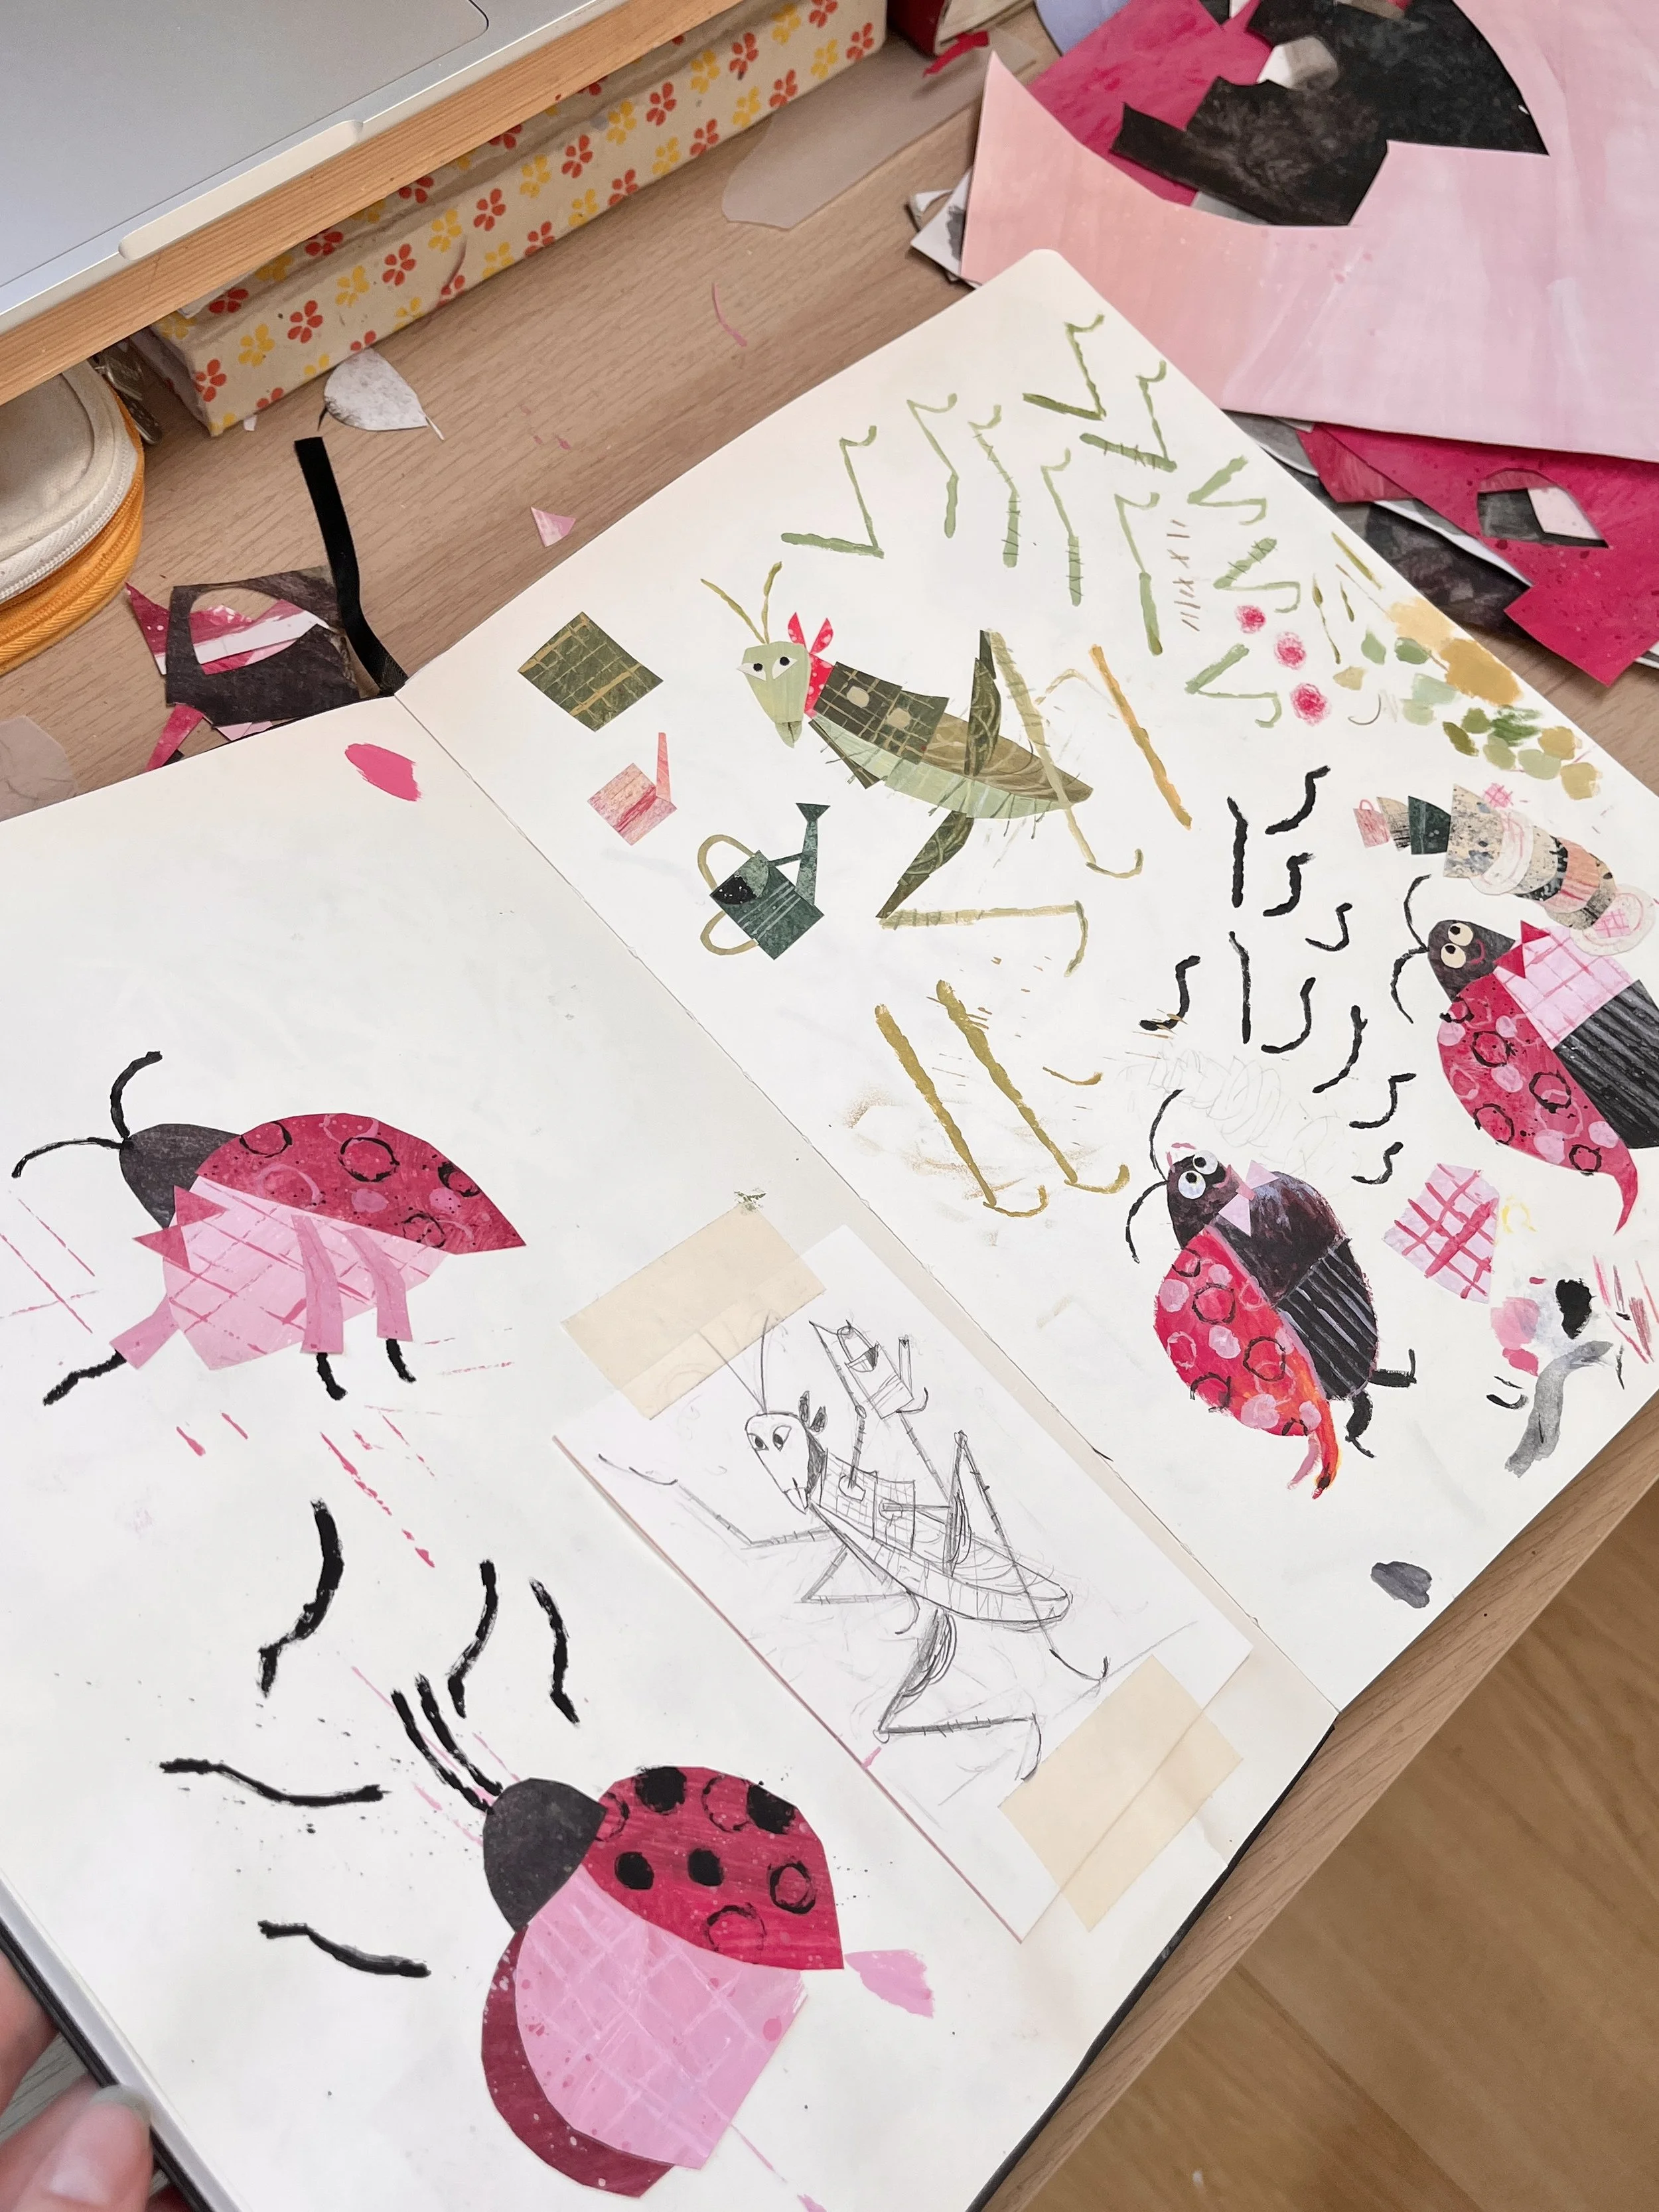

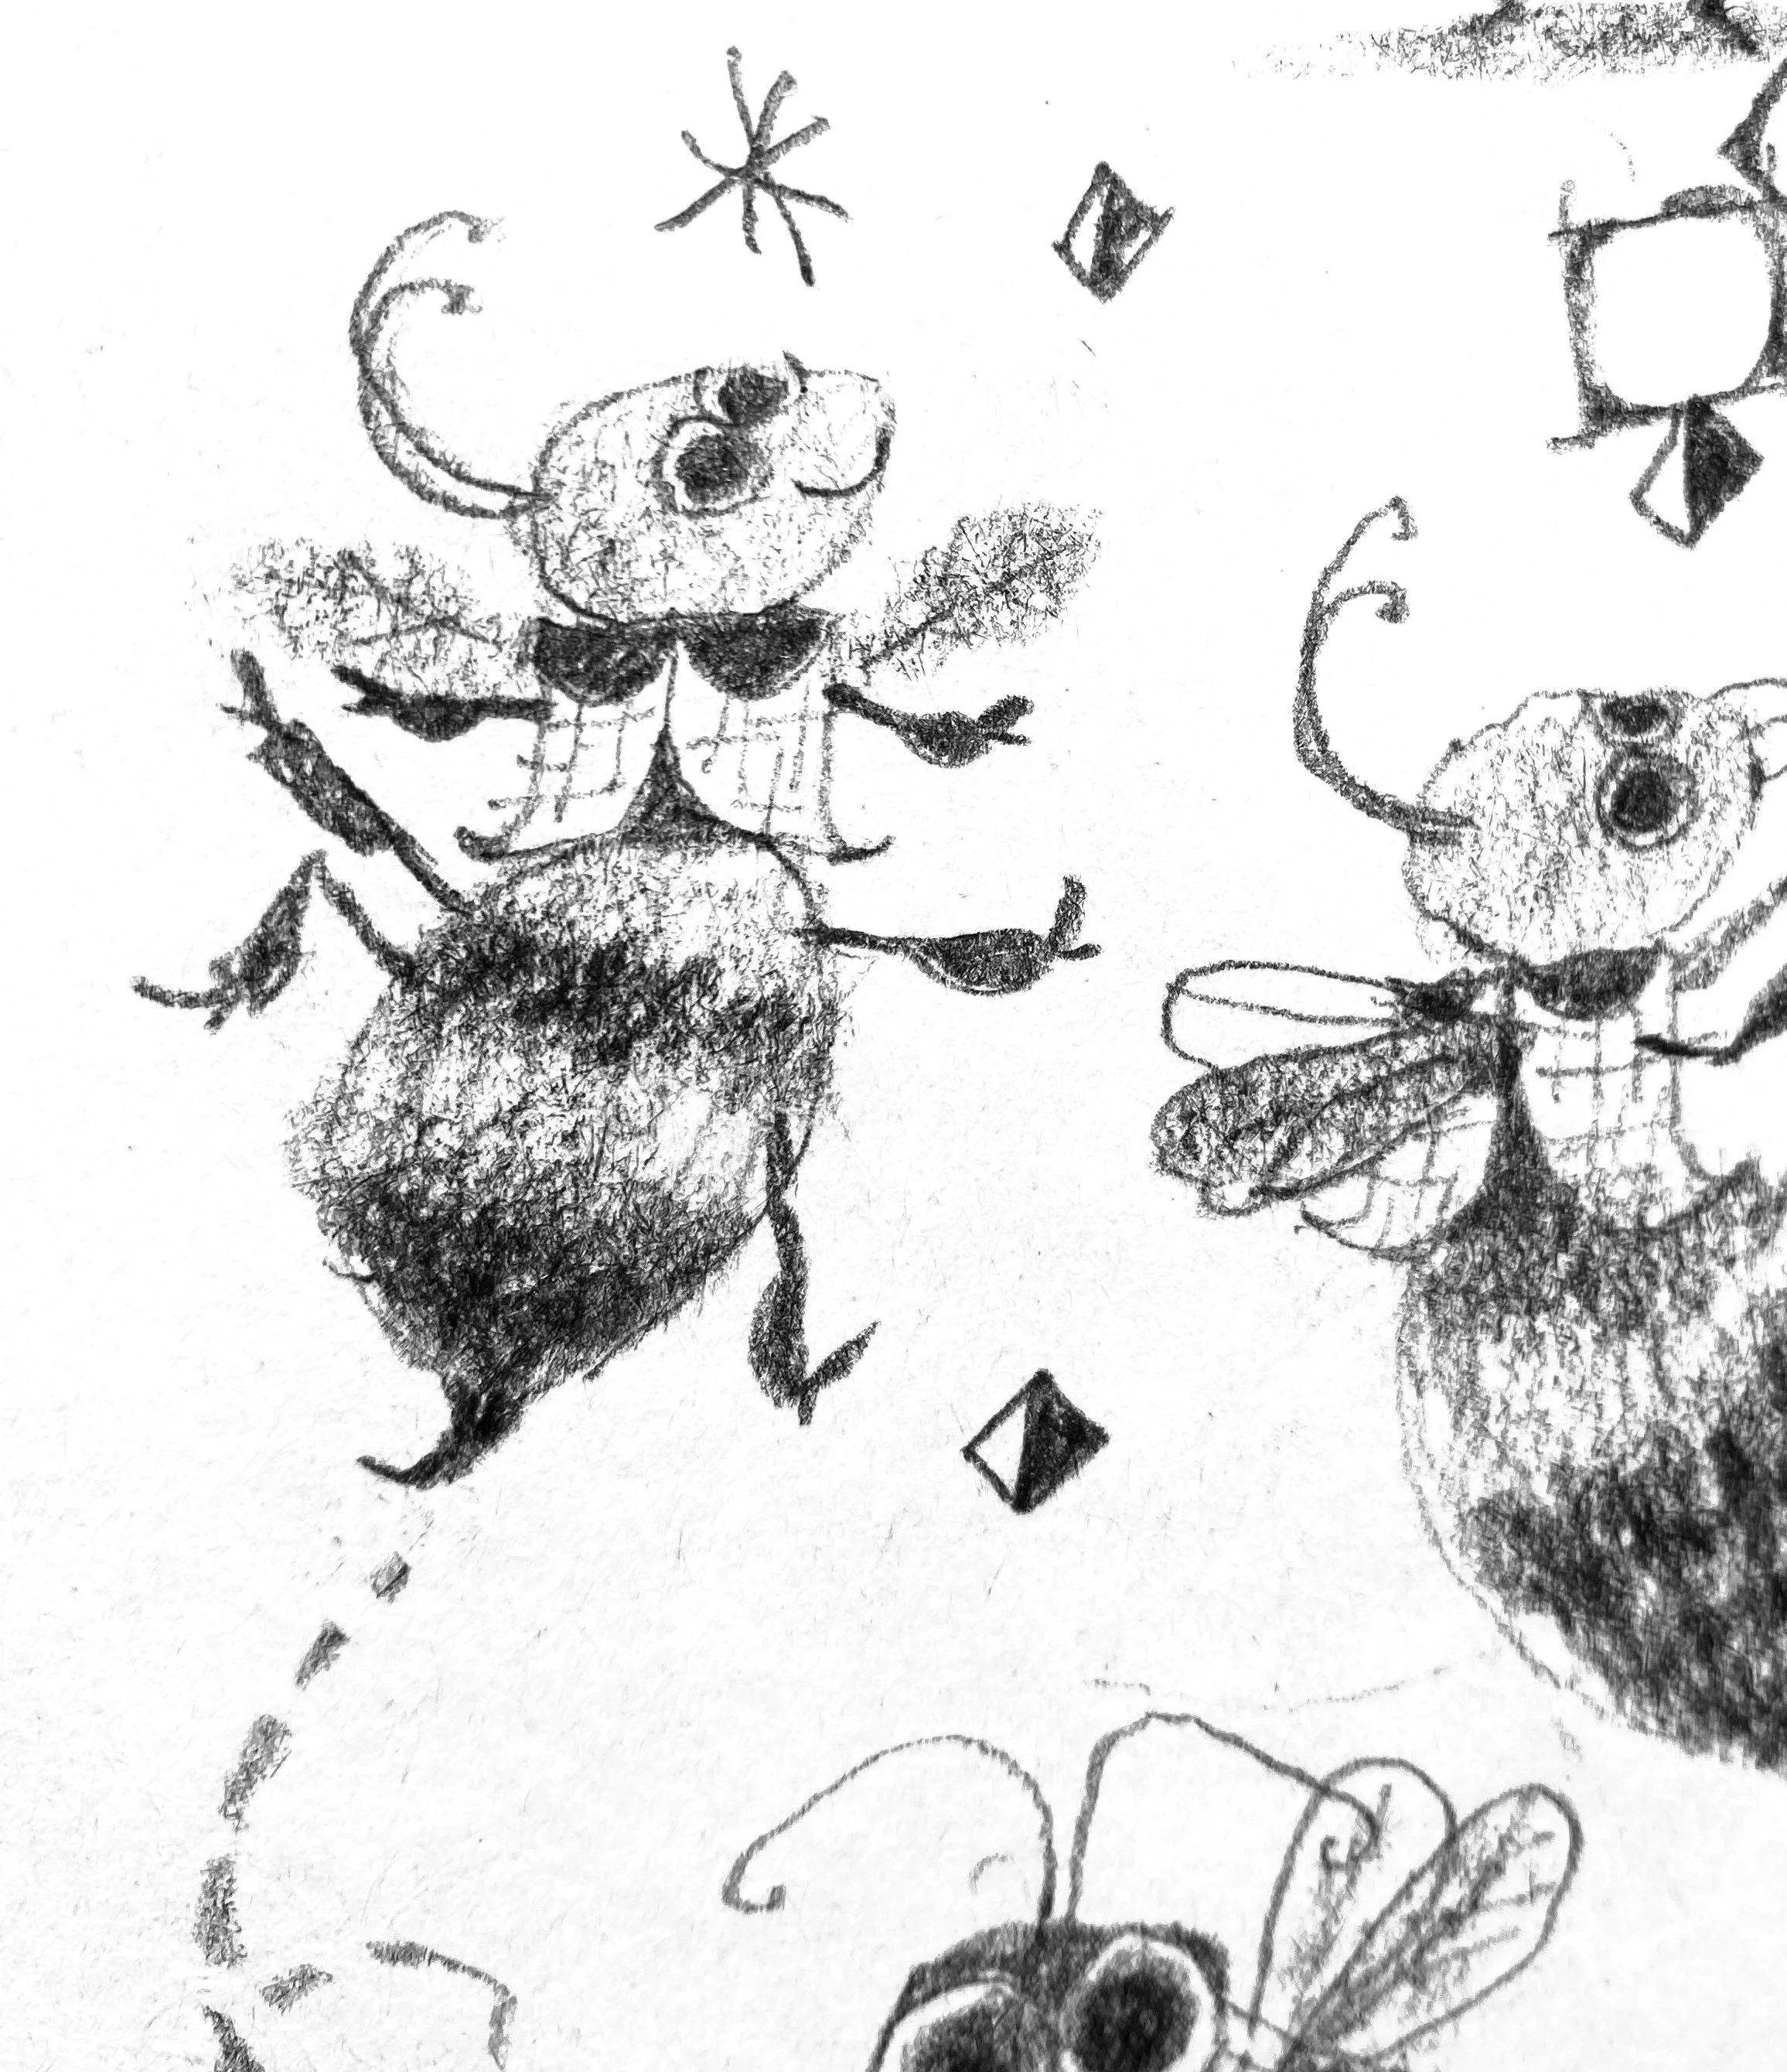
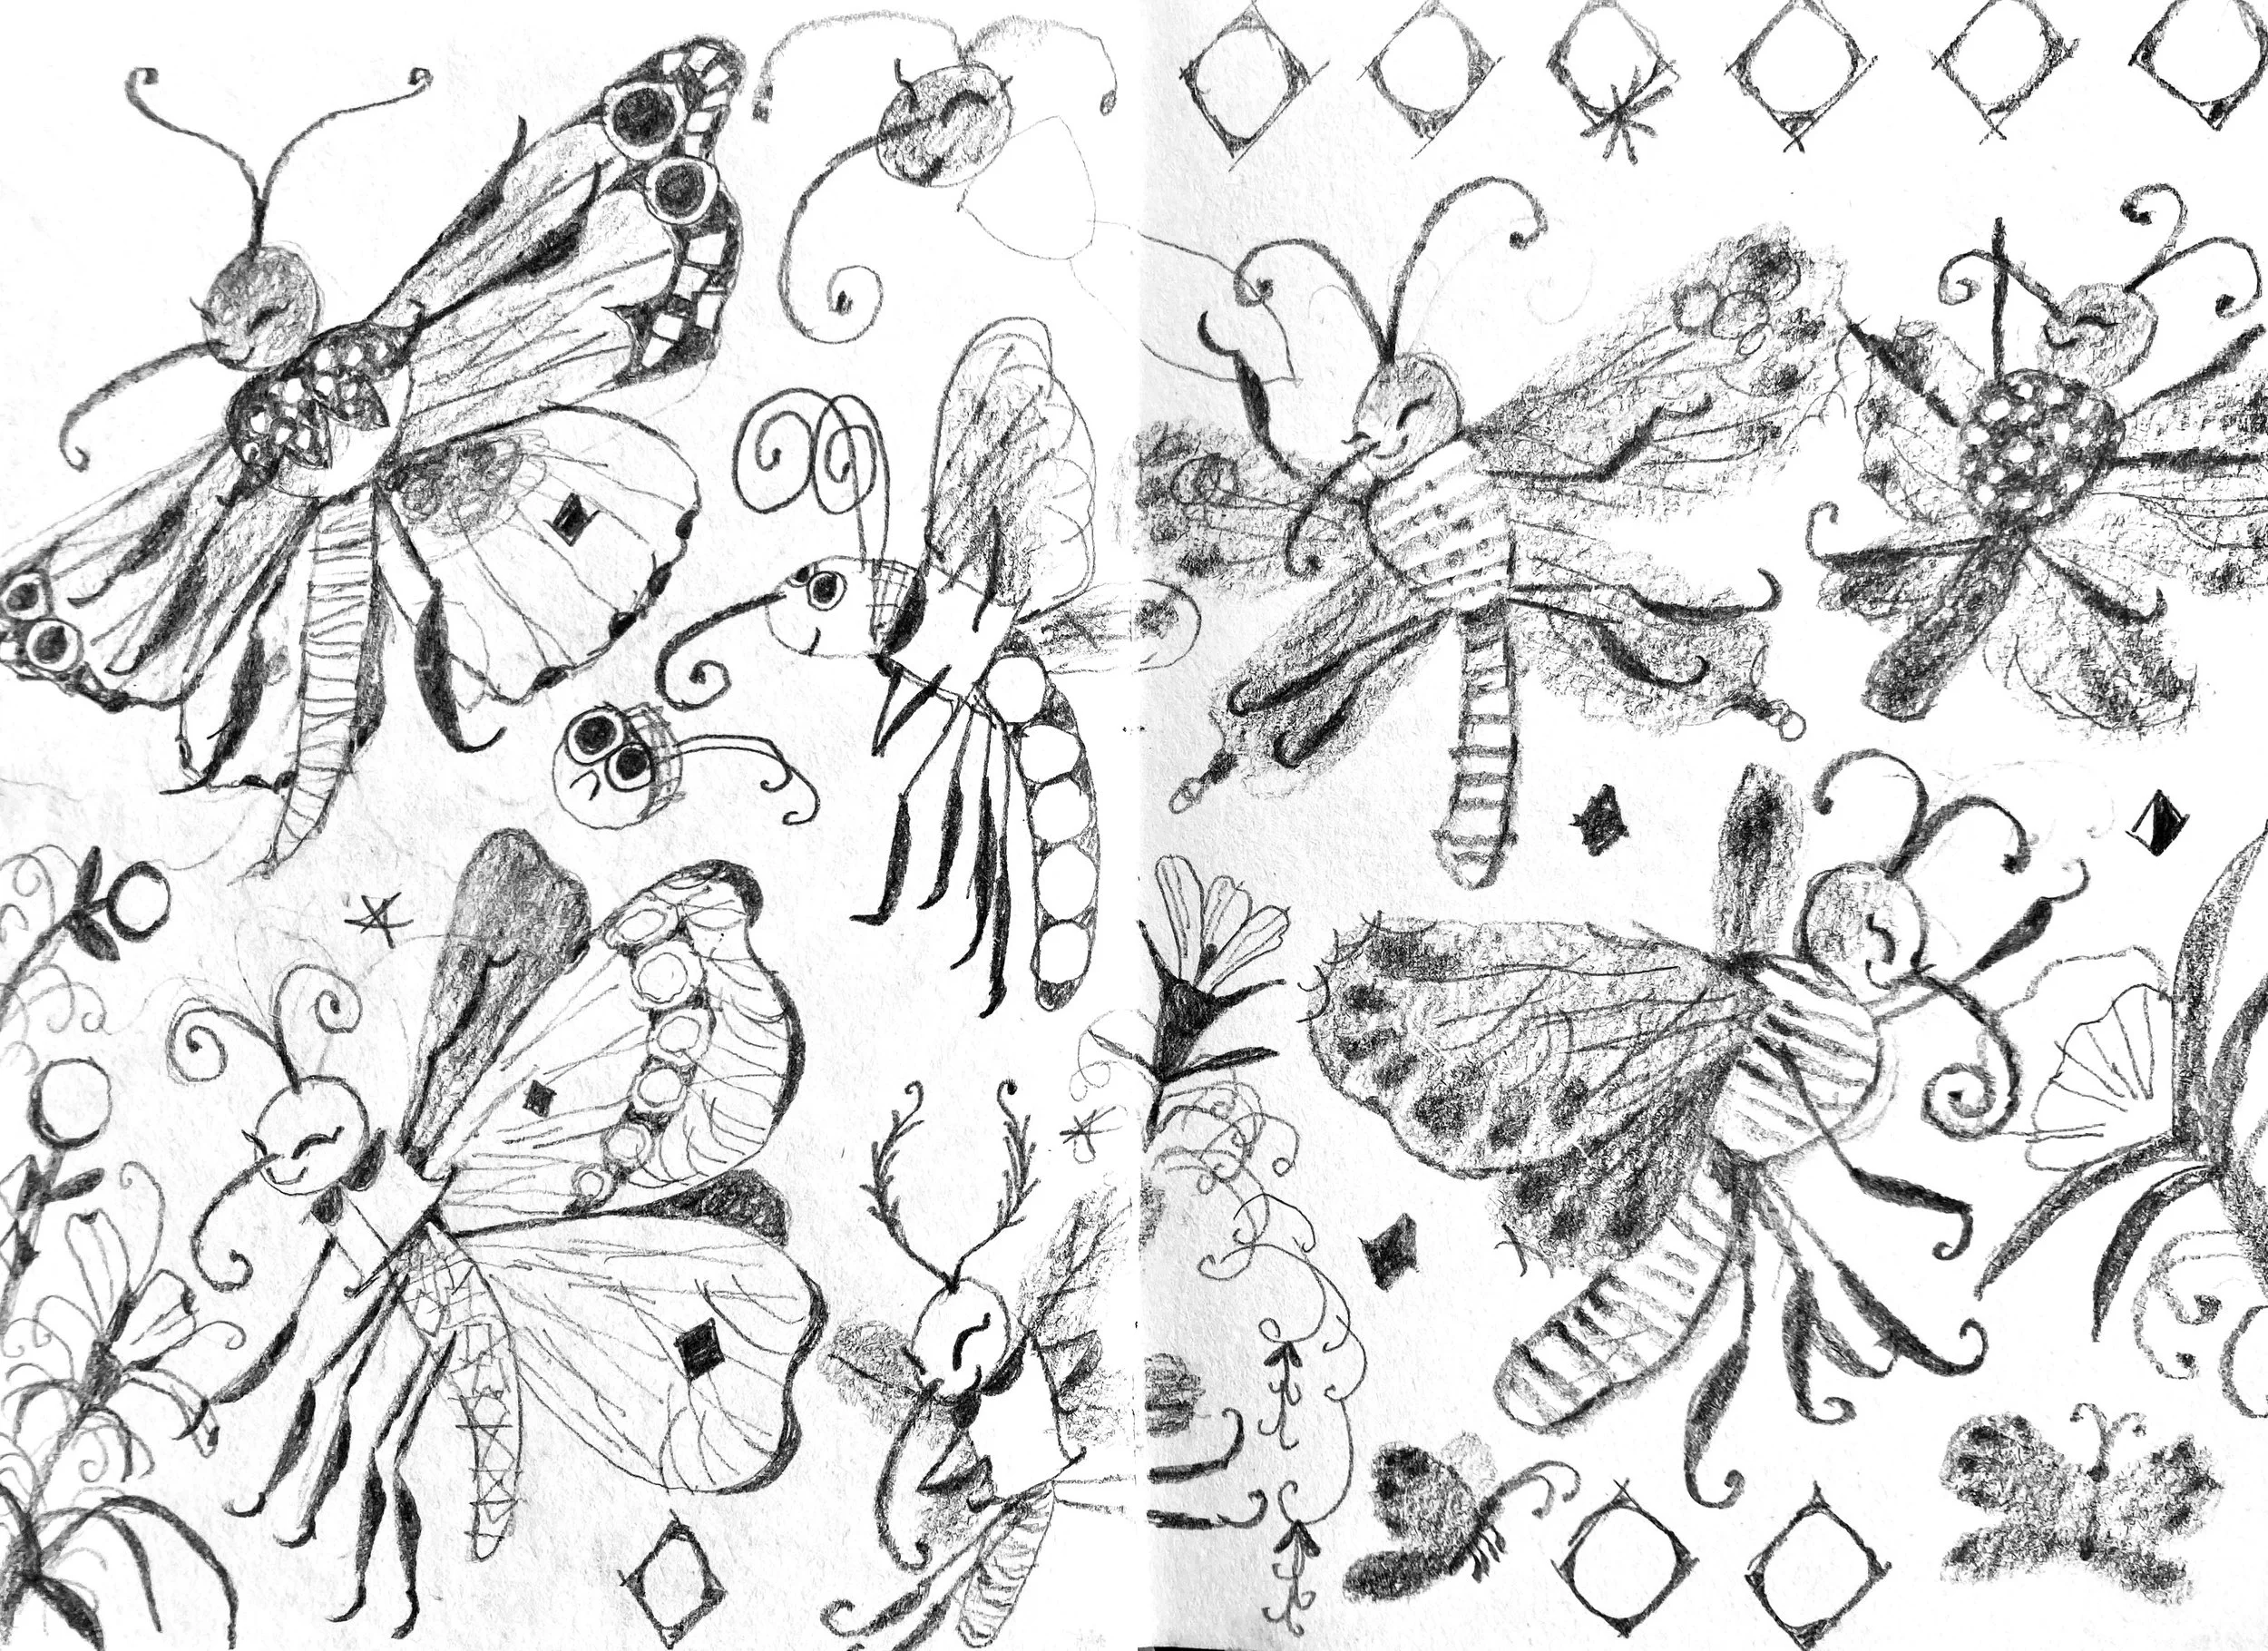
For some of the bugs, I could reuse and tweak the ones I had already made on my original character sheet which helped save time! Others I made from scratch, like the lady birds at the desk and orange butterfly. I make these almost entirely traditionally, but find adding there eyes on photoshop to be much easier as the paper at that scale can be very hard to cut so small!


Once all the characters were in place, all that was left was to add in some shadows and a bit of lighting and it was finished! I’m so pleased with how this turned out and I love the combination of all the different medias I used. I think its very playful and I managed to recreate what I could picture in my head - Yay!
